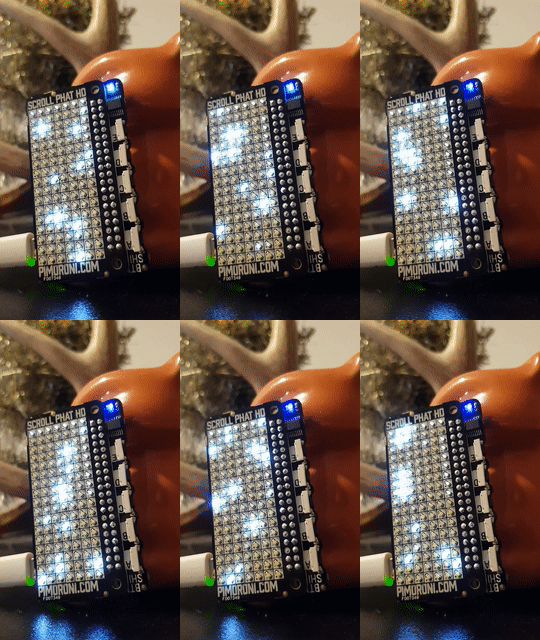
sparklestick


Self-contained LED effects for the Raspberry Pi Zero, written in Go.

Overview
Pair a Raspberry Pi Zero with a couple of other pieces of hardware, and create a tiny self-contained sparkle machine not much larger than a stick of gum. You'll need the following items:
The Button SHIM makes the stick interactive:
- Button 1 cycles through the available scenes.
- Button 2 cycles through brightness settings.
- Buttons 3-5 change parameters for the current scene (varies per scene).
For all the details on assembling your own sparklestick, head on over to the build guide.
Although you can deploy the software to the Pi manually, it's highly recommended to use resin.io for easy deployment and upgrades. There's a guide for that too!
Development
First, clone the project into your Go path:
go get github.com/tomnz/sparklestick
sparklestick uses dep to manage its dependencies. Install them before doing any development:
go get -u github.com/golang/dep/cmd/dep
cd $GOPATH/src/github.com/tomnz/sparklestick
dep ensure
You can immediately run sparklestick in the terminal emulator:
cd $GOPATH/src/github.com/tomnz/sparklestick/cmd/sparklestick
go build
./sparklestick -config=config.json
Use buttons 1-5 to interact with the emulator, and Q to exit. By specifying a config file, the current configuration (scene, brightness, etc) will be saved between runs.
Project structure is as follows:
/cmd/sparklestick - Core executable. i2c.go or term.go are selectively included based on presence of the pihardware build tag. This means that you can build and run sparklestick locally and preview changes in your terminal./runner - Orchestration layer. Manages the lifecycle of each frame, calling out to the scenes, and responding to button presses./scenes - Defines the interface for a scene, as well as the overall scene configuration object./scenes/internal/* - Each package in this folder defines an individual scene./term - Provides a terminal emulator for the runner display/button interfaces.
You can use sparklestick as-is "out of the box", but a lot of the fun comes from developing your own scenes. The process for creating a new scene is:
- Create a new package in
/scenes/internal. Mimic a simple existing scene such as random.
- Describe any configuration that you want to persist.
- Create a scene struct that holds any state you need for the scene.
- Implement
Render. Obviously this is where the action happens! You should aim to have the animation update based on the elapsed duration, so it can scale to different frame rates.
- Handle button presses if desired (typically updating the config). Follow the pattern from an existing scene.
- Add your config to the main struct in
/scenes/config.go.
- Add a
Type for your scene to /scenes/scene.go, and reference it in Types and GetScenes().
During development of your scene, you can preview it without needing to deploy to the Raspberry Pi by using the terminal emulator (see above).
When you're ready to deploy to the actual hardware, check out the resin.io deployment guide!
Contributing
Contributions welcome! Please refer to the contributing guide.
 Directories
